- How can you prevent wood from getting stuck while using a table saw?
- What causes wood to bind on a table saw?
- How Do You Adjust the Table Saw to Avoid Wood Binding?
- What Safety Gear Should You Wear to Prevent Accidents?
- Can Blade Choice Affect Wood Binding?
- How do you handle wood that has already bound?
- What are the signs that wood is about to bind?
- How do you prevent wood from binding on a table saw?
- How do you maintain the saw to prevent binding issues?
Wood binding on table saws occurs when material gets pinched between the blade and fence, creating dangerous kickback situations that can cause serious injury. This happens through improper blade alignment, dull cutting tools, incorrect feed rates, or inadequate material support. Prevention requires proper table saw setup, sharp blades, consistent feeding techniques, and appropriate safety accessories like featherboards and push sticks.
What Exactly is Wood Binding on Table Saws
Wood binding refers to the dangerous condition where lumber becomes trapped or pinched during cutting operations. This typically occurs when the kerf (cut slot) closes behind the blade, creating pressure that can suddenly launch the workpiece back toward the operator. Common binding scenarios include ripping operations where internal wood stress causes the cut to close, crosscuts where the offcut piece tilts into the blade, and situations where the fence is misaligned relative to the blade path.
Understanding binding mechanics helps woodworkers recognize risk factors before they become hazardous. The phenomenon affects both professional cabinet shops and home workshops, making prevention knowledge essential for anyone operating table saw systems safely and effectively.
How can you prevent wood from getting stuck while using a table saw?
Essential Feeding Techniques for Smooth Operation
Preventing wood from getting stuck requires consistent feeding techniques that maintain control throughout the cutting process. Feed material at a steady, moderate pace – typically walking speed for most operations. Never stop mid-cut, as this allows the blade to heat up and potentially burn or bind the material. Keep the workpiece firmly against the fence while maintaining downward pressure on the table surface.
Push sticks and push blocks become essential when cutting narrow stock or when your hands would come within 6 inches of the blade. These safety accessories provide control while keeping fingers safely away from the cutting area. Featherboards help maintain consistent pressure against the fence, preventing the material from shifting during the cut.
Blade Condition and Selection Impact
Sharp blades significantly reduce binding risks by cutting cleanly through wood fibers rather than tearing or burning them. Dull blades require more force, generate excessive heat, and create rough cuts that increase friction. Replace or sharpen blades when you notice burn marks, increased cutting effort, or rough cut surfaces.
Blade selection matters equally. Use rip blades (typically 24-30 teeth) for cutting with the grain, and crosscut blades (60-80 teeth) for cutting across the grain. The wrong blade type increases cutting resistance and binding likelihood.
What causes wood to bind on a table saw?

Alignment Issues and Setup Problems
The primary causes of wood binding stem from improper saw setup and alignment issues. When the blade and fence are not perfectly parallel, the wood gets progressively pinched as it moves through the cut. Even small misalignments – as little as 1/32 inch over the fence length – can cause significant binding problems.
Blade height also affects binding potential. Setting the blade too low forces more of the tooth to work in the cut, increasing friction and heat buildup. Conversely, excessive blade height creates larger kerf walls that can close more readily. The optimal height typically extends 1/4 to 1/2 inch above the material thickness.
Material Characteristics and Wood Movement
Internal stress within lumber commonly causes binding, especially in construction-grade materials. When you cut into stressed wood, the kerf can close behind the blade as the wood tries to relieve tension. This is particularly common with pressure-treated lumber, warped boards, or wood that has been stored improperly.
Green or high-moisture lumber presents additional challenges, as the wet wood can swell around the blade during cutting. Case-hardened lumber, where the outside dries faster than the interior, often binds when the internal stress is released during cutting.
- Use a push stick or push block to maintain a safe distance between your hand and the saw blade.
- Apply a lubricant such as wax or silicone spray to reduce friction and allow the wood to glide smoothly.
- Ensure the table saw blade is sharp and properly aligned to minimize the chances of wood binding.
- Position the wood correctly by aligning it parallel to the miter gauge or fence to prevent it from getting trapped.
- Make multiple shallow passes instead of forcing the wood through in one go.
- Keep the workspace clean and clear of debris to prevent wood from getting caught or wedged during the cutting process.
- Consider using a featherboard or hold-down clamp to provide additional support and stability while cutting wood.
How Do You Adjust the Table Saw to Avoid Wood Binding?

Blade and Fence Alignment Procedures
Proper table saw adjustment begins with ensuring the blade runs parallel to the miter gauge slots. Use a dial indicator or precision measuring technique to check that the blade maintains consistent distance from the slot along its entire length. Any deviation requires adjustment of the blade assembly or table, depending on your saw’s design.
Fence alignment follows blade alignment. The fence must run perfectly parallel to the blade path to prevent progressive pinching of the workpiece. Many woodworkers check this by measuring from the fence to the front and rear of the blade, ensuring identical measurements. Some prefer a slight outfeed (0.002-0.003 inches wider at the back) to prevent binding on very long cuts.
Riving Knife and Splitter Setup
The riving knife serves as your primary defense against binding by keeping the kerf open behind the blade. This curved metal plate should sit approximately 1/8 inch behind the blade and follow the blade’s curve closely. Proper riving knife thickness typically measures about 10% thinner than the blade kerf width.
When using a traditional splitter instead of a riving knife, ensure it aligns perfectly with the blade path. A misaligned splitter can actually cause binding rather than prevent it. For more guidance on saw setup and safety, check out this comprehensive resource on circular saw maintenance and operation.
What Safety Gear Should You Wear to Prevent Accidents?
Essential Personal Protective Equipment
Safety equipment serves as your last line of defense against binding-related accidents. Eye protection remains absolutely critical, as binding incidents often create flying debris and sawdust. Safety glasses or face shields should meet ANSI Z87.1 standards for impact resistance.
Hearing protection becomes important during extended cutting sessions, as table saws typically produce sound levels that can damage hearing over time. Foam earplugs or over-ear protection help preserve your hearing while allowing you to detect changes in cutting sounds that might indicate binding issues.
Appropriate Clothing and Accessories
Loose clothing poses serious risks around table saw blades, especially during binding situations where unexpected material movement can occur. Wear fitted clothing without loose sleeves, drawstrings, or hanging elements. Remove jewelry that could catch on moving parts or interfere with material handling.
Dust masks or respirators help protect against fine sawdust, particularly when cutting treated lumber or engineered materials. Some woodworkers prefer full-face respirators that combine eye and respiratory protection in challenging cutting environments.
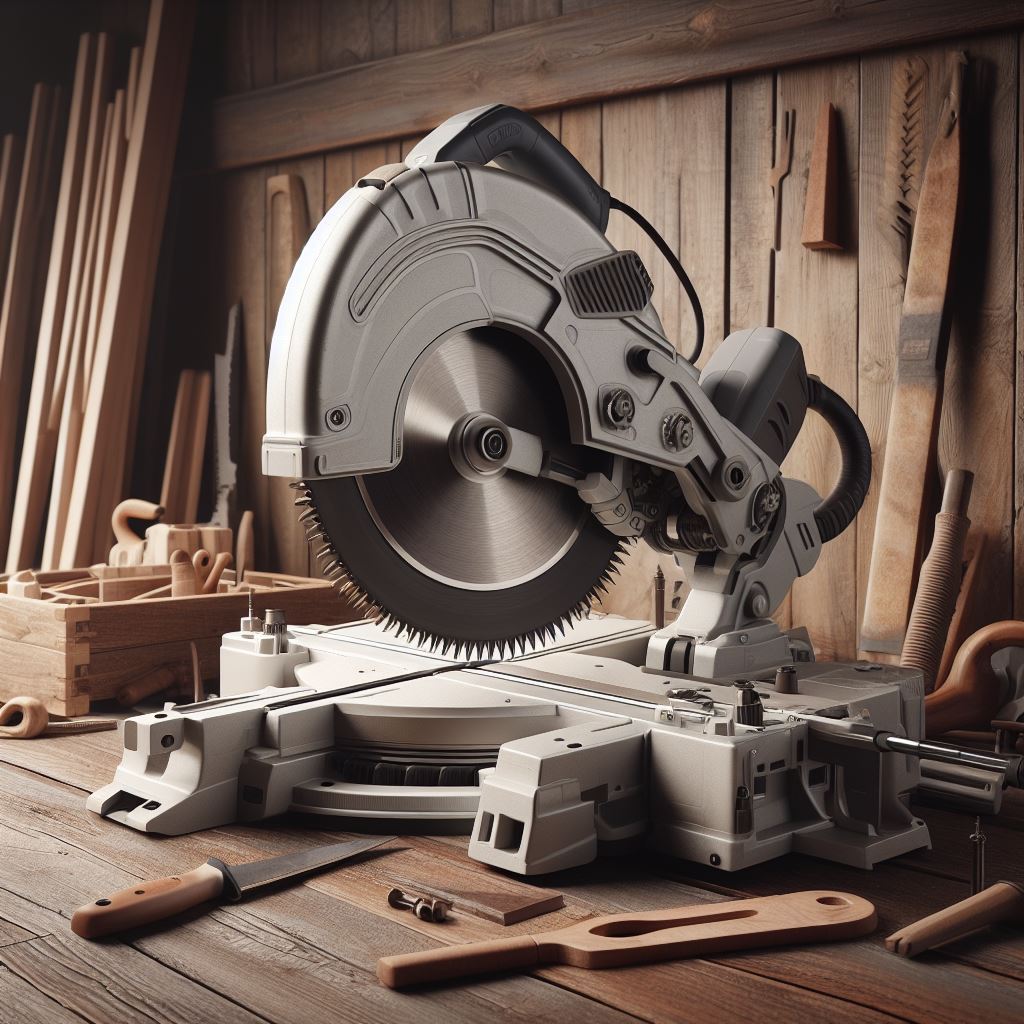
Can Blade Choice Affect Wood Binding?
Tooth Count and Blade Geometry
Blade selection significantly impacts binding potential through tooth count, geometry, and cutting action. Rip blades with fewer teeth (typically 24-30) remove material more aggressively but may cause tear-out in cross-grain cuts. Crosscut blades with more teeth (60-80) provide smoother cuts but can bind more easily when used for ripping operations.
Tooth geometry also matters. Aggressive hook angles (15-20 degrees) pull material into the blade, potentially increasing binding on certain materials. Negative or low hook angles (0-10 degrees) provide more controlled cutting action, reducing binding tendency but requiring more feed force.
Blade Width and Kerf Considerations
Thin-kerf blades remove less material and require less power, potentially reducing binding on underpowered saws. However, they may deflect more readily, creating slight cutting inaccuracies that can contribute to binding. Full-kerf blades provide more stability but require more power and create wider cuts.
Blade diameter affects cutting characteristics too. Larger blades maintain their cutting geometry better through the full cut depth, while smaller blades may require multiple passes that increase binding opportunities.
- Eye protection, such as safety goggles, safeguard your eyes from flying debris while using the table saw.
- Avoid loose clothing, jewelry, or long hair that may accidentally get caught in the rotating blade.
- Wearing ear protection, such as earmuffs or earplugs, reduces the risk of exposure to loud noise produced by the table saw.
- Using a riving knife or splitter helps prevent wood from binding during cutting and reduces kickback incidents.
- Ensuring proper lighting in the workspace allows for better visibility and helps prevent accidents or mistakes.
- Familiarize yourself with the table saw’s safety features and follow the manufacturer’s instructions for safe operation.
- Maintain a focused and distraction-free environment while using the table saw, minimizing the chances of error or mishap.
Other Related Questions
- How does blade tension affect the performance of a band saw?
- Can you use a band saw to cut glass?
- What is the role of a band saw’s wheel size?
- How do you calibrate the tracking on a band saw?
- What materials should you avoid cutting with a band saw?
How do you handle wood that has already bound?
Immediate Response to Binding Situations
When wood binding occurs, your immediate priority involves stopping the saw and ensuring your safety. Turn off the power switch and wait for the blade to come to a complete stop before taking any action. Never attempt to free bound material while the blade is still spinning, as this can result in sudden kickback or injury.
Once the blade stops completely, assess the situation carefully. The wood may be under significant stress, and improper removal techniques can still cause sudden movement. Avoid pulling the material backward, as this can damage both the workpiece and the saw blade.
Safe Removal Techniques
For material bound during ripping operations, carefully lift the back end of the board to relieve pressure on the riving knife or splitter. Sometimes, gently pushing down on the front portion while lifting the rear can help release the bind. Use steady, controlled movements rather than sudden force.
If the material remains firmly stuck, you may need to remove the blade guard and fence to access the workpiece better. Some situations require backing the blade away from the material by lowering it below the table surface. This technique proves particularly useful when dealing with thick stock or severely bound pieces.
What are the signs that wood is about to bind?
Audio and Visual Warning Indicators
Recognizing early warning signs helps prevent dangerous binding situations before they occur. Changes in cutting sound often provide the first indication of problems. The normal steady cutting sound may develop a labored quality, higher pitch, or intermittent squealing that indicates increased resistance.
Visual cues include the workpiece slowing down or requiring more force to maintain feed rate. You might notice the wood beginning to lift slightly at the back end or starting to angle away from the fence. Burn marks appearing on the cut surface indicate excessive heat buildup that often precedes binding.
Physical Resistance and Material Behavior
Physical feedback through the workpiece provides important binding warnings. Increased resistance to forward motion, even with consistent feed pressure, suggests developing problems. The material may start to vibrate or chatter against the fence, indicating instability that can lead to binding.
Watch for any tendency of the workpiece to drift away from the fence or lift off the table surface. These movements indicate that cutting forces are becoming unbalanced, often due to blade dullness, misalignment, or internal wood stress that’s about to cause binding.
How do you prevent wood from binding on a table saw?
Comprehensive Prevention Strategies
Preventing wood binding requires a systematic approach that addresses setup, technique, and material preparation. Begin with proper saw alignment and maintenance, ensuring the blade, fence, and miter slots all work in perfect harmony. This foundation prevents most binding issues before they can develop.
Material preparation plays an equally important role. Inspect lumber for defects like knots, checks, or obvious internal stress indicators. Allow kiln-dried lumber to acclimate to your shop environment before cutting, as moisture content changes can affect cutting behavior.
Advanced Prevention Techniques
Outfeed support becomes critical for preventing binding on long cuts, where unsupported material can sag and create binding pressure. Use roller stands, outfeed tables, or assistant support to maintain material alignment throughout the cut. The support should maintain the same height as your saw table for optimal results.
Consider the cutting sequence for complex projects. Making relief cuts or rough cuts first can release internal wood stress before making final precision cuts. This approach often prevents binding that might occur when attempting to make finished cuts on stressed material. For additional cutting guidance, explore these electric chainsaw techniques for outdoor cutting projects.
How do you maintain the saw to prevent binding issues?
Regular Cleaning and Lubrication
Proper maintenance forms the foundation of binding prevention. Clean the table surface regularly to remove sawdust, pitch, and debris that can interfere with material movement. A clean, smooth table surface allows workpieces to glide easily, reducing friction that can contribute to binding.
Lubricate moving parts according to manufacturer specifications, paying particular attention to fence mechanisms, blade elevation, and angle adjustment systems. Well-lubricated components operate smoothly and maintain their adjustments better, contributing to consistent, binding-free operation.
Blade Maintenance and Component Inspection
Sharp blades prevent binding more effectively than any other single factor. Establish a regular blade maintenance schedule based on usage patterns and material types. Generally, woodworkers should sharpen or replace blades when they notice increased cutting effort, burn marks, or rough cut surfaces.
Inspect and maintain the riving knife or splitter regularly, ensuring it remains properly aligned and undamaged. Check fence alignment periodically, as normal use can cause slight shifts that accumulate over time. Address any alignment issues promptly to prevent binding problems from developing.
Monitor component wear patterns and replace worn parts before they compromise safety or performance. Well-maintained table saws not only prevent binding but also produce better results and last longer, making regular maintenance a worthwhile investment in both safety and productivity.