Table of Contents
- How do you properly align the rip fence on a table saw?
- What are the steps to calibrate a rip fence?
- What is the purpose of a miter gauge on a table saw?
- How do you know if the rip fence is correctly set?
- What are the safety considerations when adjusting the rip fence?
- Can you use a ruler to set the rip fence?
- How often should you check the alignment of the rip fence?
- What happens if the rip fence is misaligned?
- How do you maintain the rip fence for longevity?
What is a Rip Fence and How to Set It Properly
A rip fence is a guide rail that runs parallel to the table saw blade, ensuring straight, consistent cuts along the wood grain. This essential woodworking component locks into position at your desired width, typically ranging from 0 to 30 inches depending on your table saw model. Setting the rip fence correctly involves measuring, aligning, and securing the fence parallel to the blade using tools like combination squares or measuring tapes.
The rip fence system works by providing a stable reference point that keeps your workpiece aligned throughout the cutting process. Most table saws feature adjustable fence rails that slide smoothly along the table’s front and rear guide bars. When properly set, the fence eliminates guesswork and delivers repeatable cuts for cabinet doors, shelving, and other woodworking projects requiring consistent dimensions.
Essential Steps for Setting Your Table Saw Rip Fence
Before adjusting your rip fence, ensure the table saw is powered off and unplugged for safety. Begin by loosening the fence’s locking mechanism, which varies by manufacturer but typically involves a cam lever or twist knob. Clear the work area of debris and position your measuring tools within easy reach.
Use a combination square or steel ruler to measure the distance from the fence face to the nearest blade tooth. Position the fence at your desired cutting width, then slide it along the guide rails until the measurement matches your requirement. For cuts wider than 12 inches, double-check your measurement at both the front and rear of the blade to ensure parallel alignment.
How do you properly align the rip fence on a table saw?
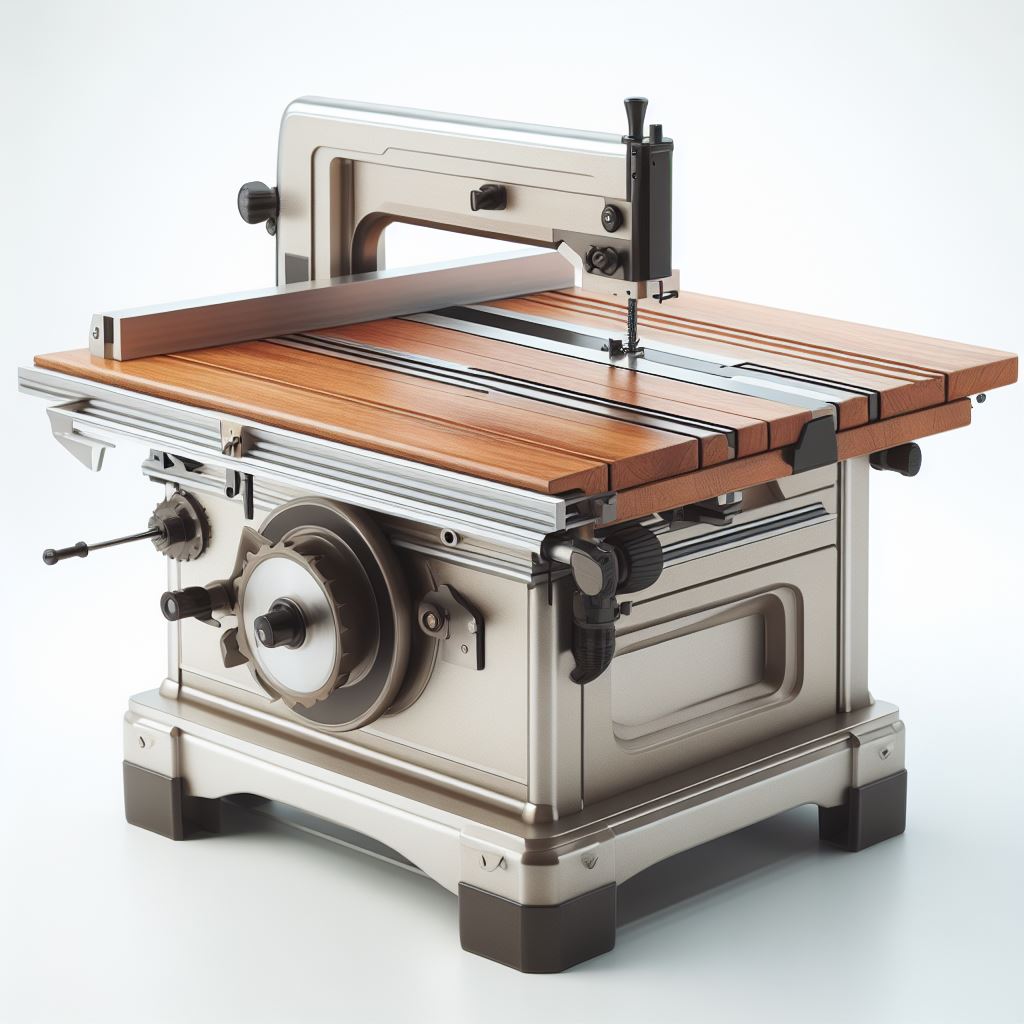
Proper rip fence alignment requires the fence to run exactly parallel to both the saw blade and the miter slots. Start by loosening the fence’s locking handle and positioning a steel straightedge against the fence face. The straightedge should maintain consistent contact with the fence from front to back without gaps.
Check alignment by measuring the distance from the fence to the blade at the front and rear positions. These measurements should be identical within 1/32 inch for accurate cuts. If misaligned, most fence systems include adjustment screws or bolts that allow fine-tuning. Some woodworkers prefer using a dial indicator for precise alignment, though a quality combination square works well for most applications.
Why Proper Rip Fence Alignment Matters
Accurate fence alignment prevents dangerous kickback situations where the workpiece binds against the blade and gets thrown back toward the operator. When the fence angles even slightly away from parallel, it creates binding that can damage both your project and the saw blade. Proper alignment also ensures consistent cut quality across multiple pieces.
Beyond safety concerns, misaligned fences cause blade burning, rough cut surfaces, and inconsistent dimensions that require additional sanding or planning. Professional woodworkers typically check their fence alignment monthly or whenever they notice cut quality declining. The time invested in proper setup pays dividends in both safety and finished project quality.
What are the steps to calibrate a rip fence?

Fence calibration ensures your measuring system matches the actual cutting width. Begin by making a test cut on a scrap piece of hardwood, setting the fence to exactly 3 inches using your measuring device. After cutting, measure the actual width of the cut piece with a reliable caliper or precision ruler.
If the cut measures differently than your fence setting, most table saws include a cursor or indicator that can be adjusted to match reality. Some fence systems feature micro-adjustment knobs that allow precise calibration without tools. This calibration process should be repeated whenever you change blades or notice measurement discrepancies, as different blade thicknesses affect cutting width.
Tools Required for Rip Fence Setup
Essential tools for rip fence setup include a combination square for basic measurements and alignment checks. A steel ruler or tape measure provides distance measurement, while a dial indicator offers professional-level precision for fence alignment. Keep these tools clean and properly stored to maintain their accuracy.
Many woodworkers also use feeler gauges for detecting small gaps between the fence and straightedge during alignment. A quality push stick becomes essential when making narrow cuts where your hands would otherwise come too close to the blade. Consider having multiple measuring tools for cross-verification of critical measurements.
What is the purpose of a miter gauge on a table saw?

A miter gauge serves as an adjustable guide for making crosscuts and angled cuts on your table saw. This tool slides in the miter slots parallel to the blade, featuring a protractor head that pivots and locks at specific angles. The gauge face provides support for your workpiece during cutting operations.
Unlike the rip fence which handles cuts parallel to the grain, the miter gauge excels at crosscutting and creating precise angles from 90 degrees to typically 45 degrees in both directions. The gauge works independently of the rip fence, though some advanced techniques use both tools together for compound cuts. Quality miter gauges include positive stops at common angles and fine adjustment capabilities for precision work.
Common Rip Fence Setup Mistakes to Avoid
One frequent mistake involves over-tightening the fence locking mechanism, which can actually pull the fence out of alignment. Apply firm pressure but avoid excessive force that might bend the fence rails or damage the locking components. Another common error is failing to clear sawdust from the fence rails before adjustment, which prevents smooth movement and accurate positioning.
Many beginners position the fence too close to the blade when making their initial measurement, creating safety hazards and potential for binding. Always maintain adequate clearance and use push sticks for narrow cuts. Additionally, some users neglect to check fence alignment after locking, assuming the fence remains parallel once tightened.
- Ensures accurate and precise cuts
- Reduces the risk of dangerous kickbacks during operation
- Increases safety by preventing material from binding against the blade
- Allows for consistent cutting widths for repetitive tasks
- Provides stability and support for the workpiece
- Saves time and effort by eliminating the need for additional adjustments
- Improves overall efficiency and productivity in woodworking projects
How do you know if the rip fence is correctly set?
A correctly set rip fence produces smooth cuts without burning, binding, or requiring excessive force to push the workpiece through. The cut edges should be straight and square, requiring minimal sanding or finishing. When the fence is properly aligned, the workpiece moves smoothly past the blade without deviation or catching.
Test cuts on scrap material provide the most reliable verification method. Cut several pieces at the same fence setting and measure each piece for consistency. Variations greater than 1/64 inch indicate alignment issues that need correction. Listen for changes in motor sound during cutting, as binding typically creates noticeable strain on the saw motor. Burn marks on the cut edge usually signal fence misalignment or blade dullness.
Troubleshooting Rip Fence Problems
When cuts consistently measure wider or narrower than the fence setting, recalibrate your measurement system using the steps outlined earlier. Blade deflection can also cause measurement discrepancies, particularly with thin-kerf blades or when cutting thick hardwoods. Consider upgrading to a higher-quality blade if deflection becomes problematic.
Fence drift during cutting operations typically results from worn guide rails or loose mounting hardware. Regular maintenance and occasional rail lubrication help prevent these issues. If the fence consistently pulls away from square during locking, inspect the locking mechanism for wear and consider professional adjustment or replacement of worn components.
What are the safety considerations when adjusting the rip fence?
Safety begins with powering off and unplugging the table saw before making any fence adjustments. Never adjust the fence with the blade spinning or while the saw remains connected to power. Position yourself to the side of the blade path, never directly behind the workpiece where kickback could cause injury.
Always use appropriate push devices when the fence setting requires your hands to come within 6 inches of the blade. Quality push sticks, push blocks, and featherboards help maintain control while keeping your hands safely away from the cutting area. Ensure adequate lighting and a clean work surface to prevent slips or measurement errors that could compromise safety.
Understanding Rip Fence Limitations
Even the best rip fence systems have limitations that users should understand. Fence accuracy depends on proper maintenance, with sawdust buildup and rail wear gradually affecting performance over time. Most fence systems work best with straight, flat stock and may require additional support for warped or twisted lumber.
Fence capacity varies significantly between saw models, with contractor saws typically offering 24-30 inches of rip capacity while smaller benchtop saws may limit cuts to 12-20 inches. The fence system’s quality also impacts accuracy, with budget systems requiring more frequent adjustment and calibration than professional-grade equipment.
Can you use a ruler to set the rip fence?
A ruler serves as an effective tool for setting basic rip fence positions, though precision depends on the ruler quality and your measurement technique. Steel rulers provide better accuracy than flexible tape measures, especially for cuts requiring tight tolerances. Position the ruler perpendicular to the fence face and parallel to the table surface for consistent measurements.
Digital calipers offer superior precision for critical measurements, particularly when setting up repetitive cuts that require exact dimensions. These tools eliminate parallax errors common with traditional rulers and provide readings accurate to thousandths of an inch. However, basic steel rulers work adequately for most woodworking projects where tolerances of 1/32 inch or greater are acceptable.
When Ruler Measurements Fall Short
Ruler-based measurements become less reliable for very narrow cuts under 2 inches or very wide cuts approaching the fence’s maximum capacity. The ruler’s physical thickness can interfere with blade clearance on narrow cuts, while long measurements accumulate errors that affect accuracy. Consider specialized measuring devices for these challenging situations.
Temperature changes can affect both ruler accuracy and fence positioning, particularly in unheated workshops where metal components expand and contract. Allow tools and equipment to reach room temperature before making critical measurements, and recheck settings if working conditions change significantly during your project.
- Ensure the table saw is powered off and unplugged for safety
- Align the rip fence parallel to the saw blade, using a straightedge as a guide
- Lock the fence in place by tightening the clamps or levers
- Measure and adjust the distance between the fence and the blade to achieve the desired cut width
- Verify the alignment by measuring the distance between the fence and the blade at different points
- Make fine-tuning adjustments if necessary, to achieve optimal accuracy
- Double-check the fence position before powering on the table saw
Other Related Questions
- Can you cut pavers with a masonry saw?
- What is the advantage of a sliding table on a tile saw?
- How do you maintain the pump in a wet tile saw?
- How does blade tension affect the performance of a band saw?
- Can you use a band saw to cut glass?
How often should you check the alignment of the rip fence?
Rip fence alignment checking frequency depends on usage patterns and saw quality, though most woodworkers benefit from monthly inspections for regular use. Heavy production work or frequent fence adjustments may require weekly checks, while occasional hobbyist use might extend to quarterly inspections. Environmental factors like temperature fluctuations and workshop humidity also influence how often alignment verification becomes necessary.
Check alignment immediately after any significant impact to the fence system, blade changes, or if you notice declining cut quality. Dust buildup on the rails can gradually affect fence positioning, making regular cleaning part of your alignment maintenance routine. Professional shops often incorporate fence checks into their daily setup procedures to ensure consistent quality across all projects.
Signs Your Rip Fence Needs Attention
Watch for burn marks on cut edges, which often indicate the fence is pulling the workpiece into the blade during cutting. Inconsistent cut dimensions across multiple pieces at the same fence setting suggest alignment problems requiring immediate correction. Difficulty moving the fence smoothly along its rails typically indicates dust buildup or worn components.
Listen for changes in motor sound during rip cuts, as binding creates additional load that affects saw performance. Excessive blade deflection during cutting operations may indicate fence misalignment putting side pressure on the blade. These symptoms warrant immediate fence inspection and adjustment before continuing work.
What happens if the rip fence is misaligned?
Misaligned rip fences create dangerous kickback conditions where the workpiece binds against the blade and gets forcefully ejected toward the operator. This binding occurs when the fence angles the workpiece into the blade’s back teeth, creating a grabbing action that can cause serious injury. Proper fence alignment maintains parallel cutting paths that prevent this dangerous situation.
Beyond safety concerns, misaligned fences produce poor cut quality with rough surfaces, burn marks, and dimensional inconsistencies that require additional work to correct. The binding action also places excessive stress on the saw motor and blade, potentially causing premature wear or damage to expensive components. Quality cutting tools deserve proper setup to perform at their designed capability.
Long-term Effects of Poor Fence Alignment
Continued operation with a misaligned fence accelerates blade wear by creating uneven cutting forces that dull teeth prematurely. The motor experiences additional strain from binding conditions, potentially reducing its operational lifespan. Workpiece quality suffers consistently, leading to material waste and project delays from having to remake components.
Professional woodworkers understand that fence alignment directly affects their reputation and profitability. Consistently poor cuts require additional time for correction, while safety incidents can have serious legal and financial consequences. The small investment in proper fence setup and maintenance pays significant dividends in both quality and safety outcomes.
How do you maintain the rip fence for longevity?
Regular cleaning represents the most important maintenance task for rip fence longevity. Remove sawdust and debris from the fence rails daily after use, as accumulated particles prevent smooth movement and accurate positioning. Use a shop vacuum and soft brush to clear guide channels, followed by a light application of paste wax or dry lubricant to maintain smooth operation.
Inspect the fence system monthly for loose bolts, worn components, or damage that might affect performance. Tighten hardware as needed, but avoid over-tightening that could distort alignment. The fence face should remain flat and straight, requiring replacement if warping or damage occurs. Quality maintenance extends fence life significantly while ensuring consistent accuracy for your woodworking projects.
Professional Maintenance Tips
Professional shops often maintain spare fence components to minimize downtime when repairs become necessary. Keep replacement hardware, adjustment screws, and measuring scales readily available for quick repairs. Document your fence’s calibration settings so you can quickly restore accuracy after maintenance or replacement procedures.
Consider upgrading fence components gradually as wear occurs, particularly the measuring system and locking mechanisms which receive the most use. Higher-quality aftermarket fences can significantly improve accuracy and ease of use compared to original equipment on budget table saws. The investment in quality fence systems typically pays for itself through improved productivity and reduced setup time.